How to Customize Projects with GanttPRO: Updated Custom Fields
September 29, 2021 / Estimated reading time: 3 minutes
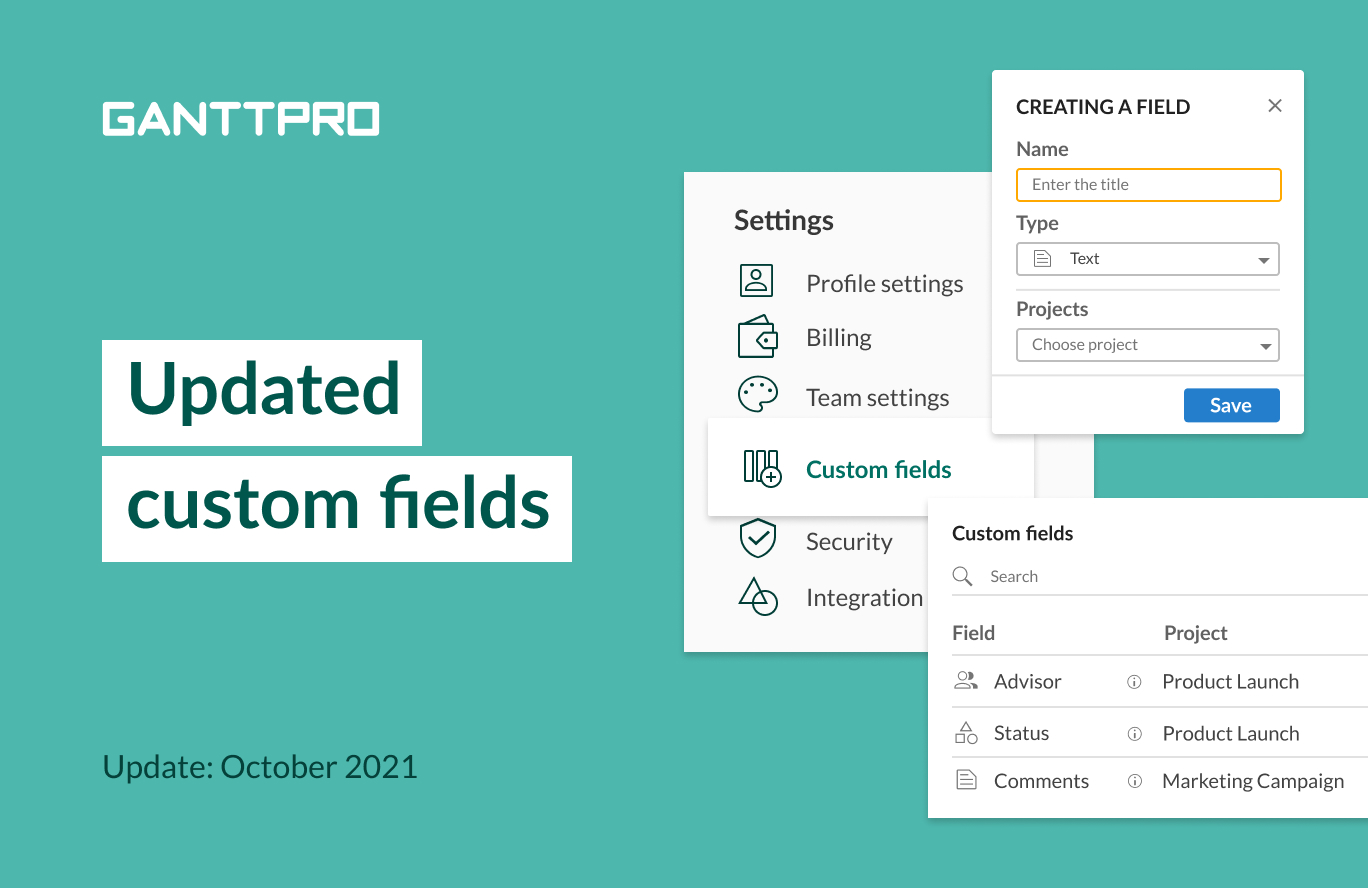
Do you enjoy using custom fields in the online Gantt chart maker?
We believe you do: they give the flexibility to plan and manage projects with a customized approach.
However, we decided to improve the feature and make it even more flexible.
Let’s figure out what those updates are.
Custom fields menu
From now on, you can create custom fields not just for an active Gantt chart project but for your account and manage them from one place.
What does it mean in practice?
Put it simply, you can create a custom field just once and apply it to whatever project you need. In case you change any data in a field, it will be applied to every project and project portfolio where you use it.
Note: if you add a project with a custom field to a portfolio, the custom field will be added to this portfolio too. There is no need to add them separately.
Go to your Profile settings → Custom fields.
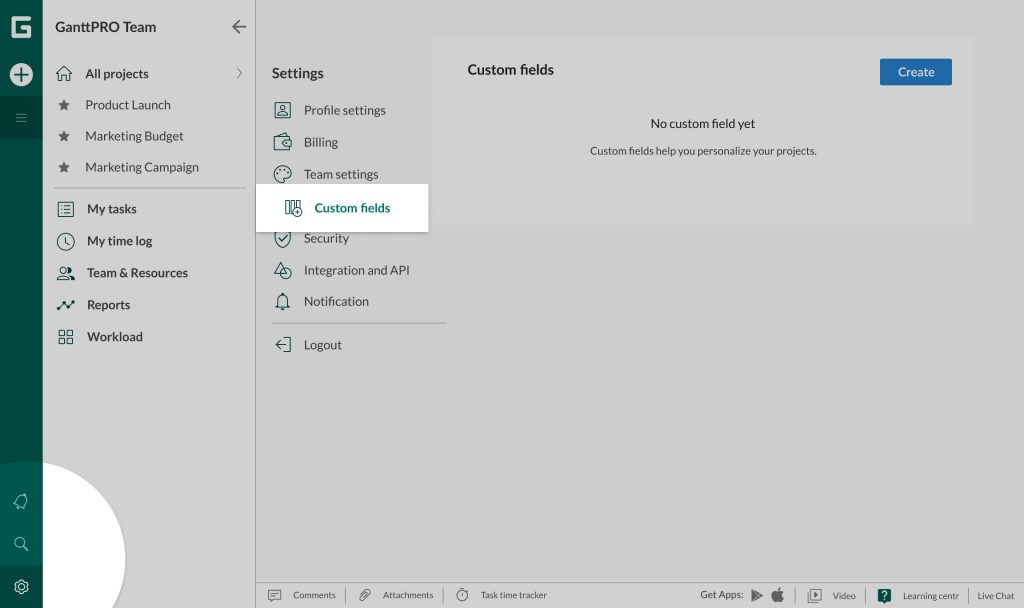
This is the place where you can create, edit, manage, and delete your custom fields.
Note: the menu is available for Owners and Admins. Members will see custom fields from projects available for them.
If you do not have any previously created custom fields, there will be an empty space in front of you. In case you did create some, you would see all of them.
To create a new field, click on the Create button.
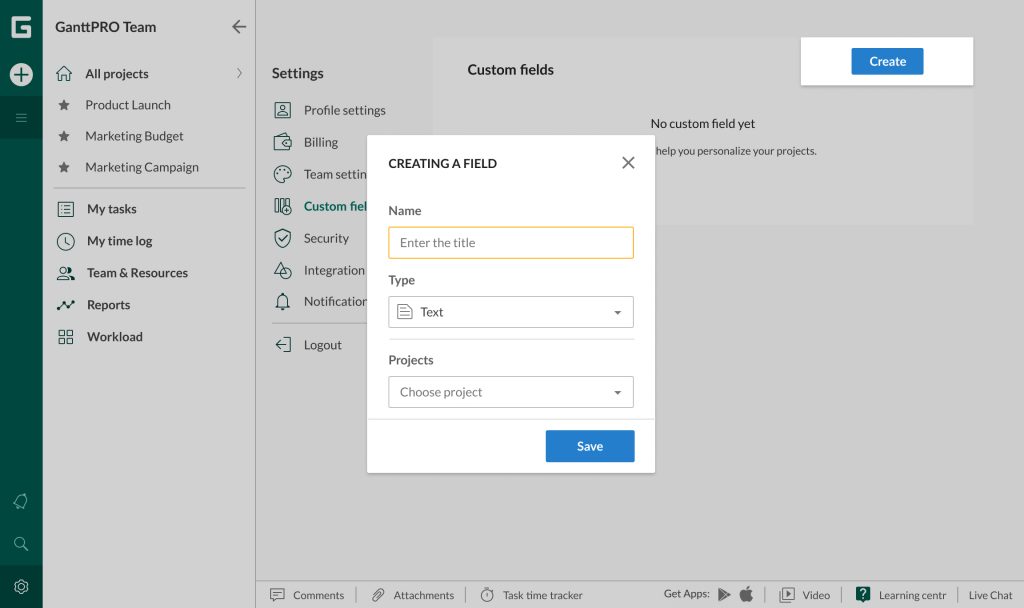
You will see a familiar window where you need to enter the title of the field and its type. The next drop-down is a new one: here, we choose a project or projects it will belong to.
Let’s create a few fields to demonstrate how it works.
Field 1
- Title: Status.
- Type: Multiselect. We will add a few entries to the list.
Then, we can choose a project or projects where we want to apply this field.
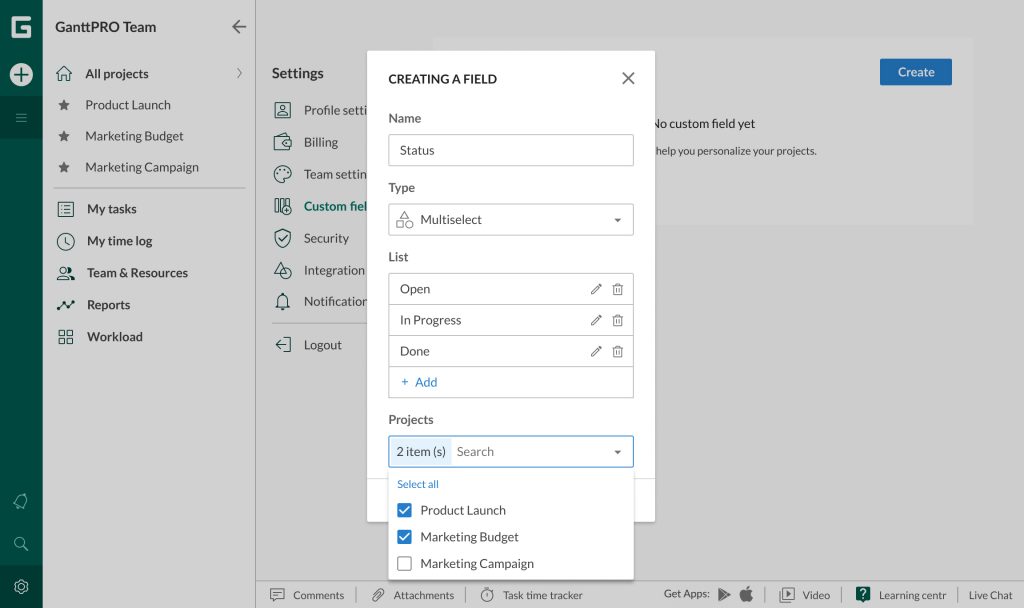
Click Save.
Great job! You’ve just created your custom field.
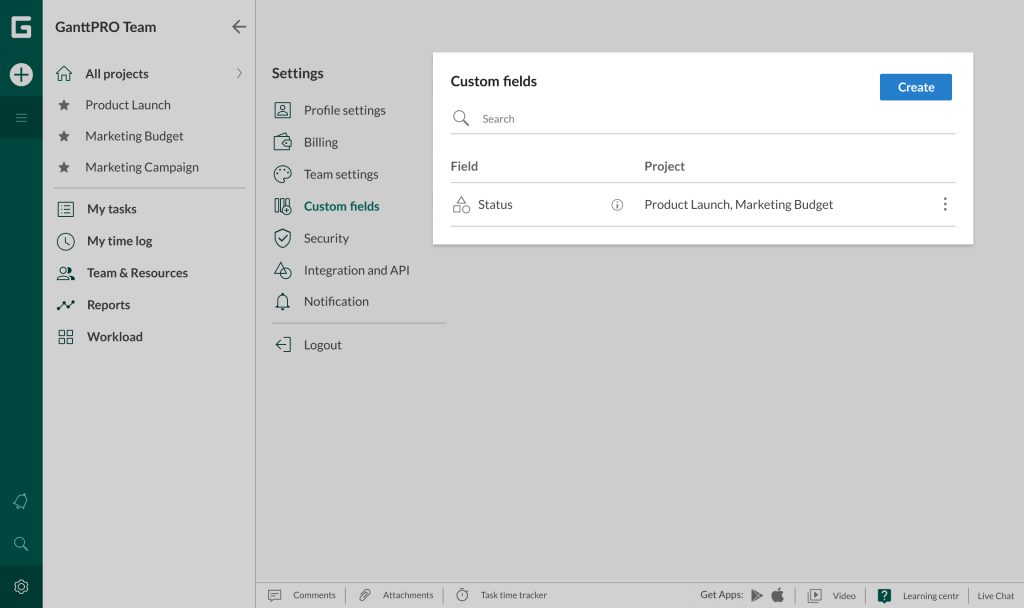
Let’s add a few more.
Field 2
- Title: Comments.
- Type: Text.
Field 3
- Title: Advisor.
- Type: People.
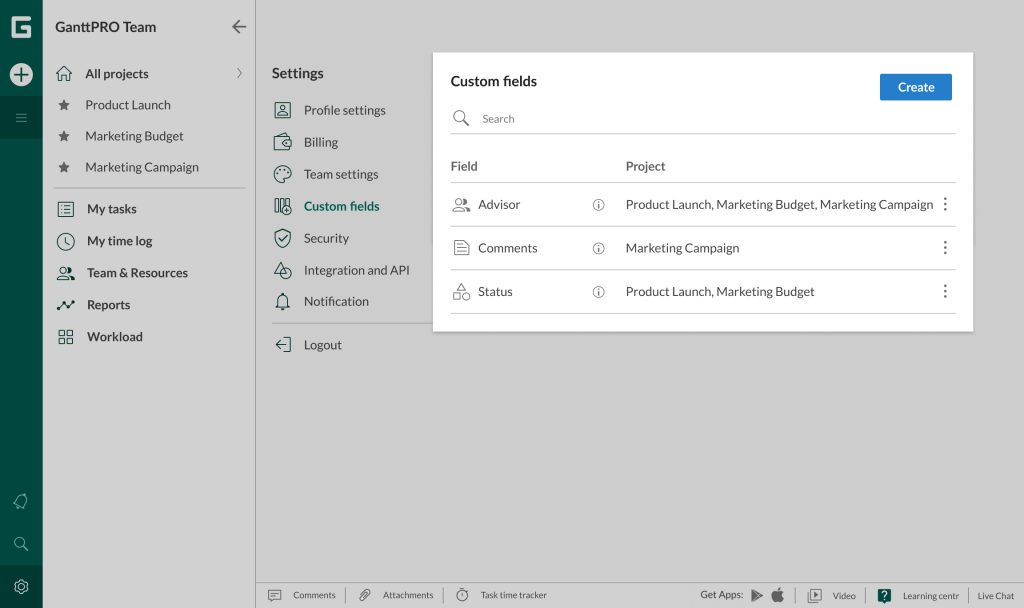
From the menu, you will know the name, type, and project. Also, the tooltip will provide the following information:
- Who created the field.
- When it was created.
- Who was the last one to edit it.
- When the last edit was made.
Editing and deleting custom fields
On the right to any field, there is a three-dots button. From here, you can edit and delete your custom data.
Editing custom fields
Here, you can edit a title and project(s) but not a type.
Remember that any changes you make will be applied to all related projects.
Note: GanttPRO will show you the number of projects where this field is used.
Deleting custom fields
Here, you can delete a field.
Remember that the field will be deleted from all related projects. As an additional measure of precaution, you will have to enter the name of the field.
Note: GanttPRO will show you the number of projects where this field is used.
Another way to work with custom fields
As usual, you can create, edit, and delete fields right from the grid in your Gantt chart project. For this, click on the + sign in the top right corner.
Here, you can even choose from already existing fields or go directly to the custom fields menu in your profile settings.
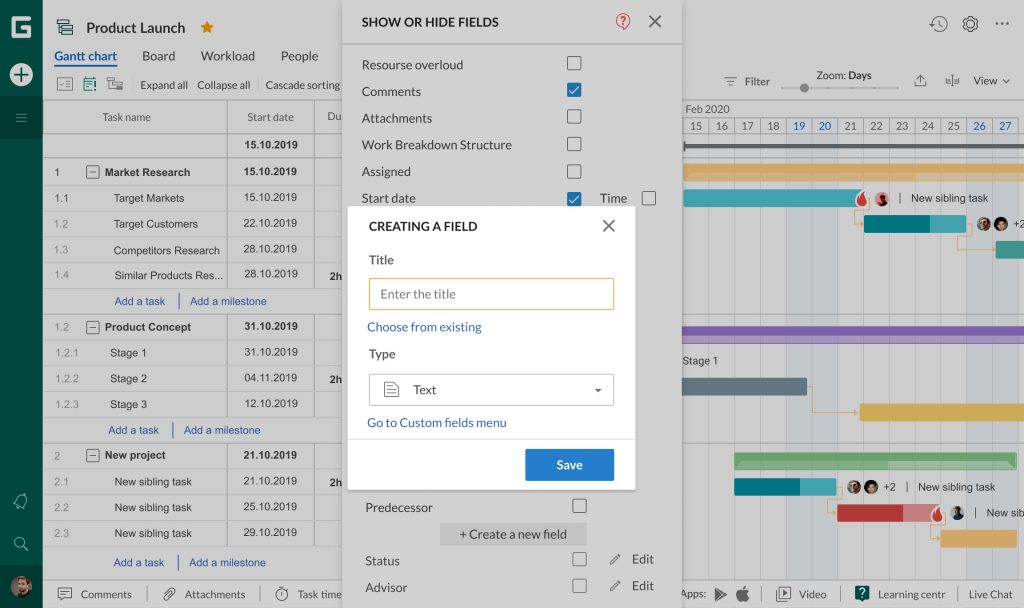
Note: if you delete a field from the current project, it won’t be deleted from the menu in your profile settings.
Customized approach for your project management
Create as many custom fields as needed just once and easily manage them from one place with GanttPRO.
Question left? Email us at [email protected], ask in the Live chat, or book a personal demo.
For a more efficient management of custom fields, why don’t you allow defining custom fields in a template?
Thanks!!